- It’s What We Do
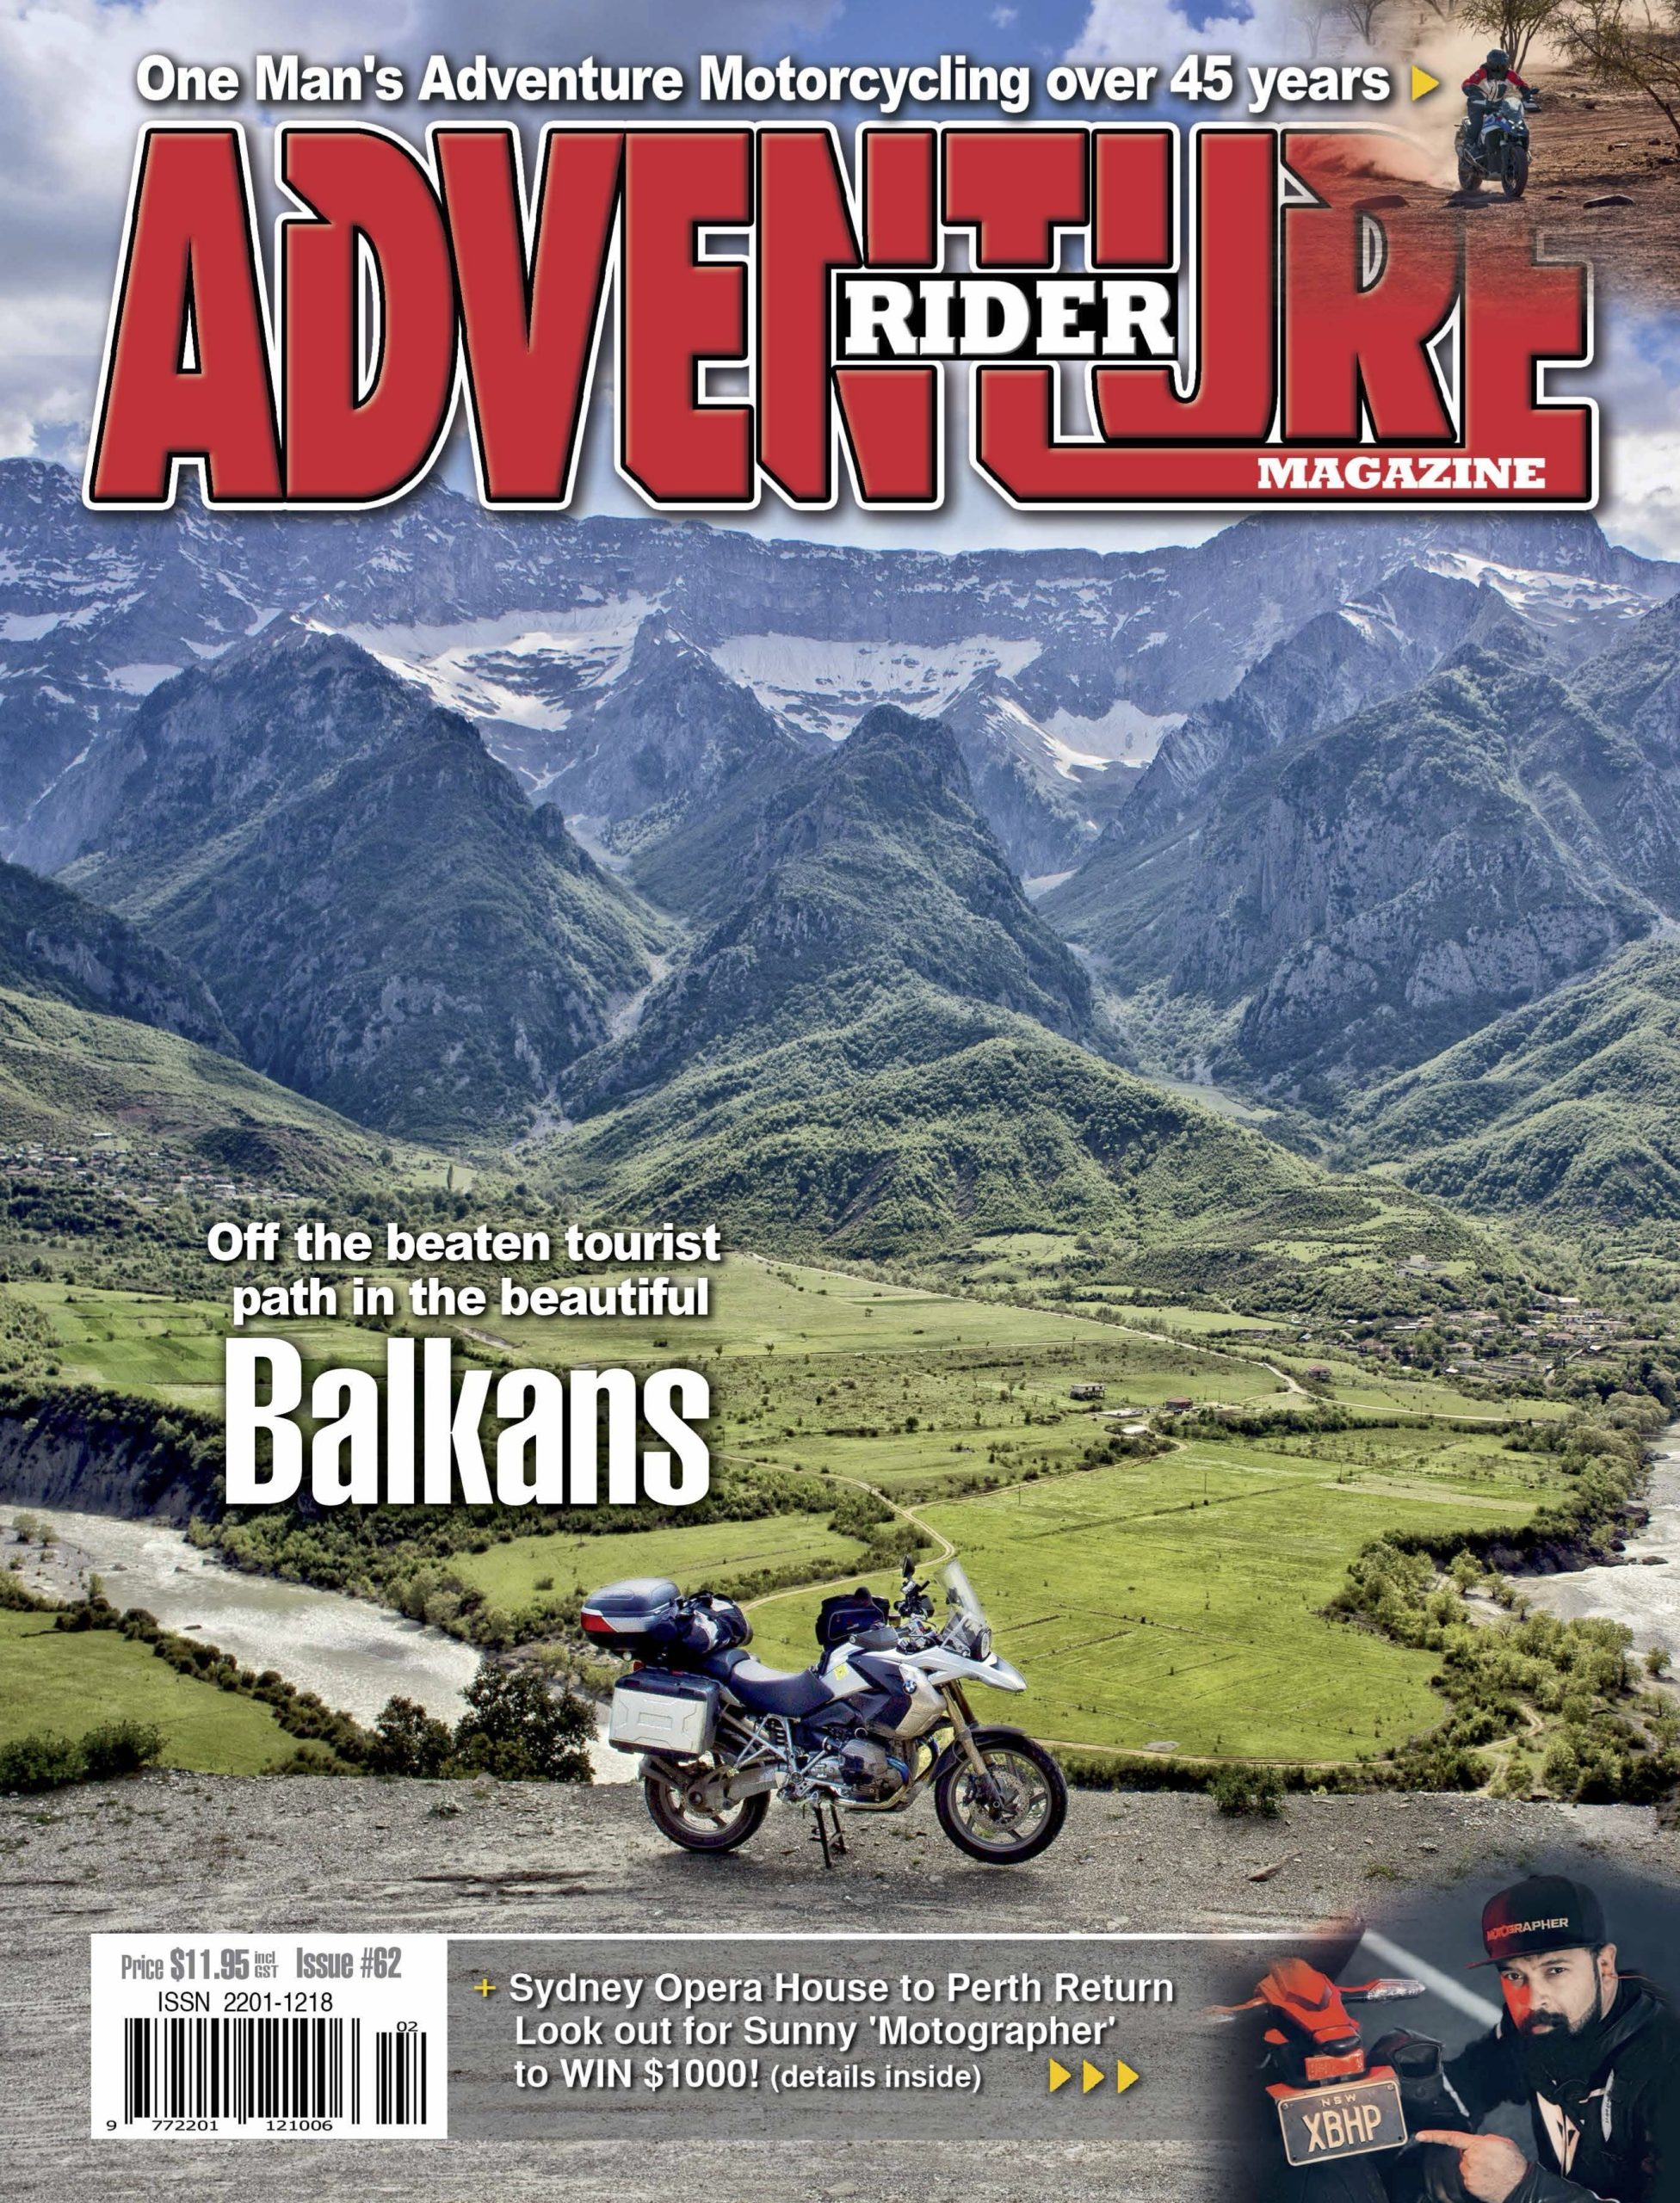
- Kashmir: mystic adventure – Over the top…literally
- 25 years, 280 DRZs and only one Roy Kunda – Suzuki’s best customer?
- BMW Safari Enduro – No bull! No wait…
- Triumph Tiger Explorer 1200 – Updated, upgraded and up to the job
- WTF – Not what you think
- LEDs – Light work
- The Precious 3: Peter Payne’s XT1200Z Ténéré
- Industry player – Philth Hodgens
- HARD Kits Husky 710 – Phwoar!
- Reader’s ride – I Finke, therefore I am
- Cornered with Karen Ramsay
- Preparing for adventure with Andrea Box
- How To Ride with Miles Davis
- Checkout
- Fit Out
Miles Davis explains a basic, but important, concept.
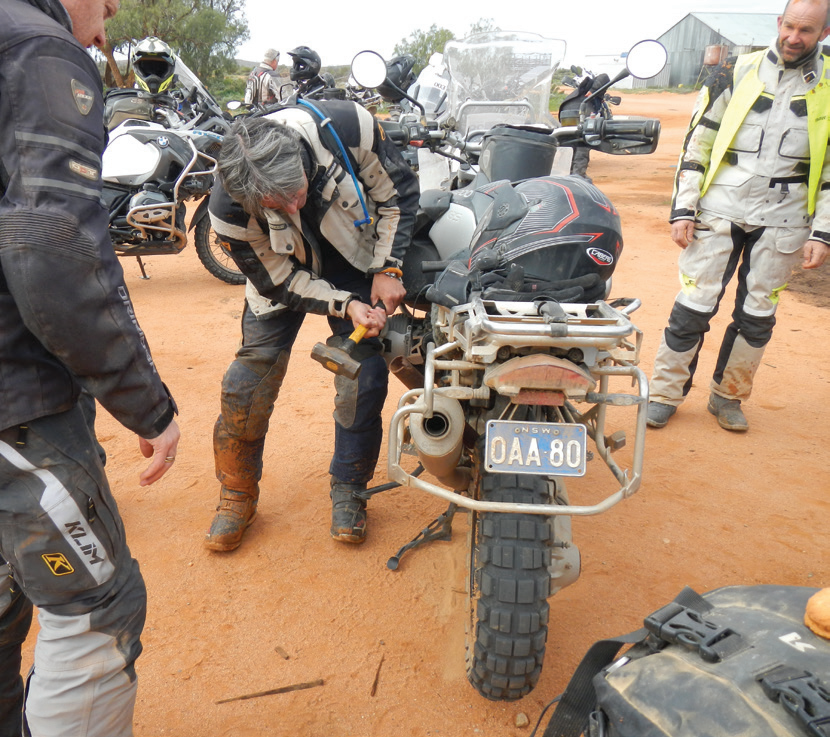
Anyone who’s done one of Klaus Mueller’s Australian Motorcycle Adventures tours will have heard him say, “Your bike is your best friend, look after it and it will look after you”.
Klaus has probably been riding and running tours for longer than anyone in the country, maybe in the world! I’m pretty sure he’s seen it all, good and bad.
It makes a lot of sense when you think about it. A lot of us take our bikes to some pretty crazy places and it’s always good peace of mind to know your bike is well-sorted and up to the challenge. At recent BMW Safari events I’ve been using the saying, ‘Love your bike and it will love you back,’ but not going into to much detail.
Over a beer one night, one of the riders asked: “What does it mean? I don’t know what I should be doing?” It’s a fair enough question, so I thought I’d go over some points that might help some riders know what to look out for on their bikes, especially during a longer adventure ride.
Tyres
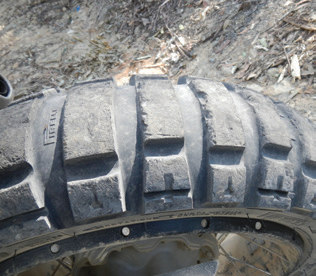
It’s pretty amazing what good quality adventure tyres can cope with, high speeds, sharp rocks and intense heat to name a few. Considering the circumstances, I’m constantly surprised at how few flats occur. That said, you should give your tyres a look over at the start of each day to check pressures, look for any cuts or slashes and assess the general condition of your rubber. You might spot something before it causes a problem on the trail.
Fill ’er up
It’s a great practice to fill your bike up at the end of the day if possible. If everyone in your group does this you save time the next morning. Plus, that way you don’t forget and leave with quarter of a tank.
Luggage
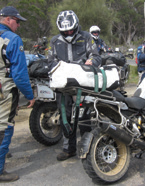
Make sure it’s staying on and straps aren’t working loose. Losing luggage or having it slip onto the muffler or into the rear tyre can cause major problems.
Chain and sprockets
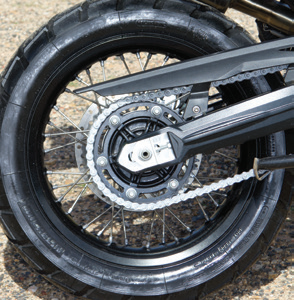
Keep an eye on adjustment and know how much free play your bike’s chain needs so you don’t overtighten it. It’s a common mistake. Look for excessive wear. The teeth should be beefy and symmetrical. Any hooking shows significant wear. Lube the chain every day. Some don’t bother, but I think it’s well worthwhile to get the most longevity. It also shows your bike that you love it!
Wheels
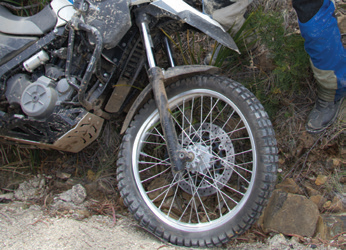
Check for loose spokes or any rim damage. You can use a screwdriver, small tyre lever or some-thing similar to simply run around your spokes and play a tune. The noise should be quite sharp and consistent. A loose spoke will give a very dull or flat noise. Once you’ve located any loose spokes you can tighten them with a spoke key or very small adjustable spanner. Just be careful not to strip the nipple. Some bikes have differ-ent systems to adjust spoke tension, so make sure you have the right tools on hand.
Be careful not to overtighten the nipple or you may strip it and cause a bigger problem. Use your tapper to play the tune after any visible looseness is gone to see if it matches the other spokes. It does pay to lubricate your spoke nipples with WD40 or other lube from time to time to ensure that they don’t sieze. You can do this after washing your bike. Use the spray nozzle to direct lube on the spoke just where it goes into the nipple. This will remove water and introduce lube to keep your nipples happy.
Be prepared
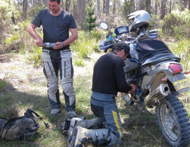
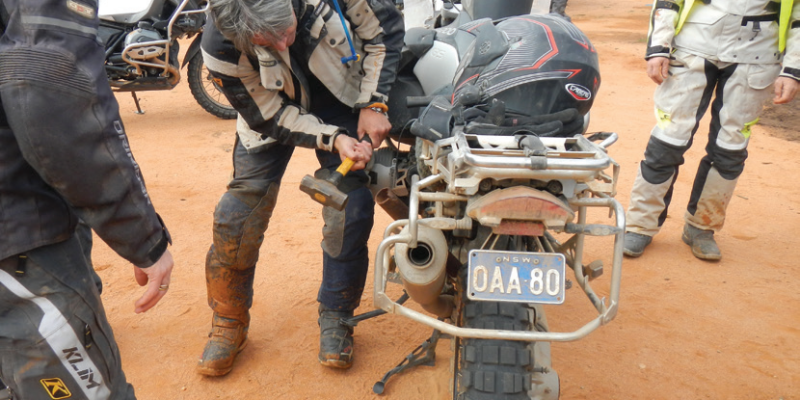
Carry key spares (clutch and brake levers, brake pads, tubes, joining links, and so forth) and tools to do all of the basics listed above as a minimum. Pack cable ties, metal putty, safety wire and a few spare bolts, too. Not every-one is a mechanic, but you can have your bike in good running order and be prepared for various situations that are likely to come up from time to time. It’s great to learn from others with more technical knowledge and experience.
 Miles Davis
See and be seen
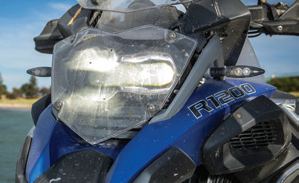
Rocks can crack headlights, bulbs can fail from constant vibration or lenses can just be covered in mud. A headlight guard is a great idea. Keep it and your headlight clean and in good shape.
Free play
Having the correct throttle and clutch (non-hydraulic-clutch bikes only) free play is important. An experienced rider will pick it as soon as they sit on the bike. Your clutch should have about 10-20mm of free play at the ball end of the lever (between one and two millimetres where the cable goes into the housing). Don’t wind all the free play out, and don’t ride with too much free play or your clutch may not disengage properly.
Your throttle tube should only have about one or two millimetres of free play before the cable engages the carby or injectors.
Fresh air
Riding in dusty conditions in a group can cause a lot of dust to get into the air filter. With a good air filter this isn’t as drastic as some may think, but it’s still wise to be aware of the filter condition so you can service as required. Many riders fit prefilters, often an oiled-foam sock that fits into the air intake (check out www.unifilter.com.au). These are a great idea as they can be easier to inspect and service than the main filter element. You can carry a spare, oiled, in a zip-lock bag and do a quick swap mid adventure.
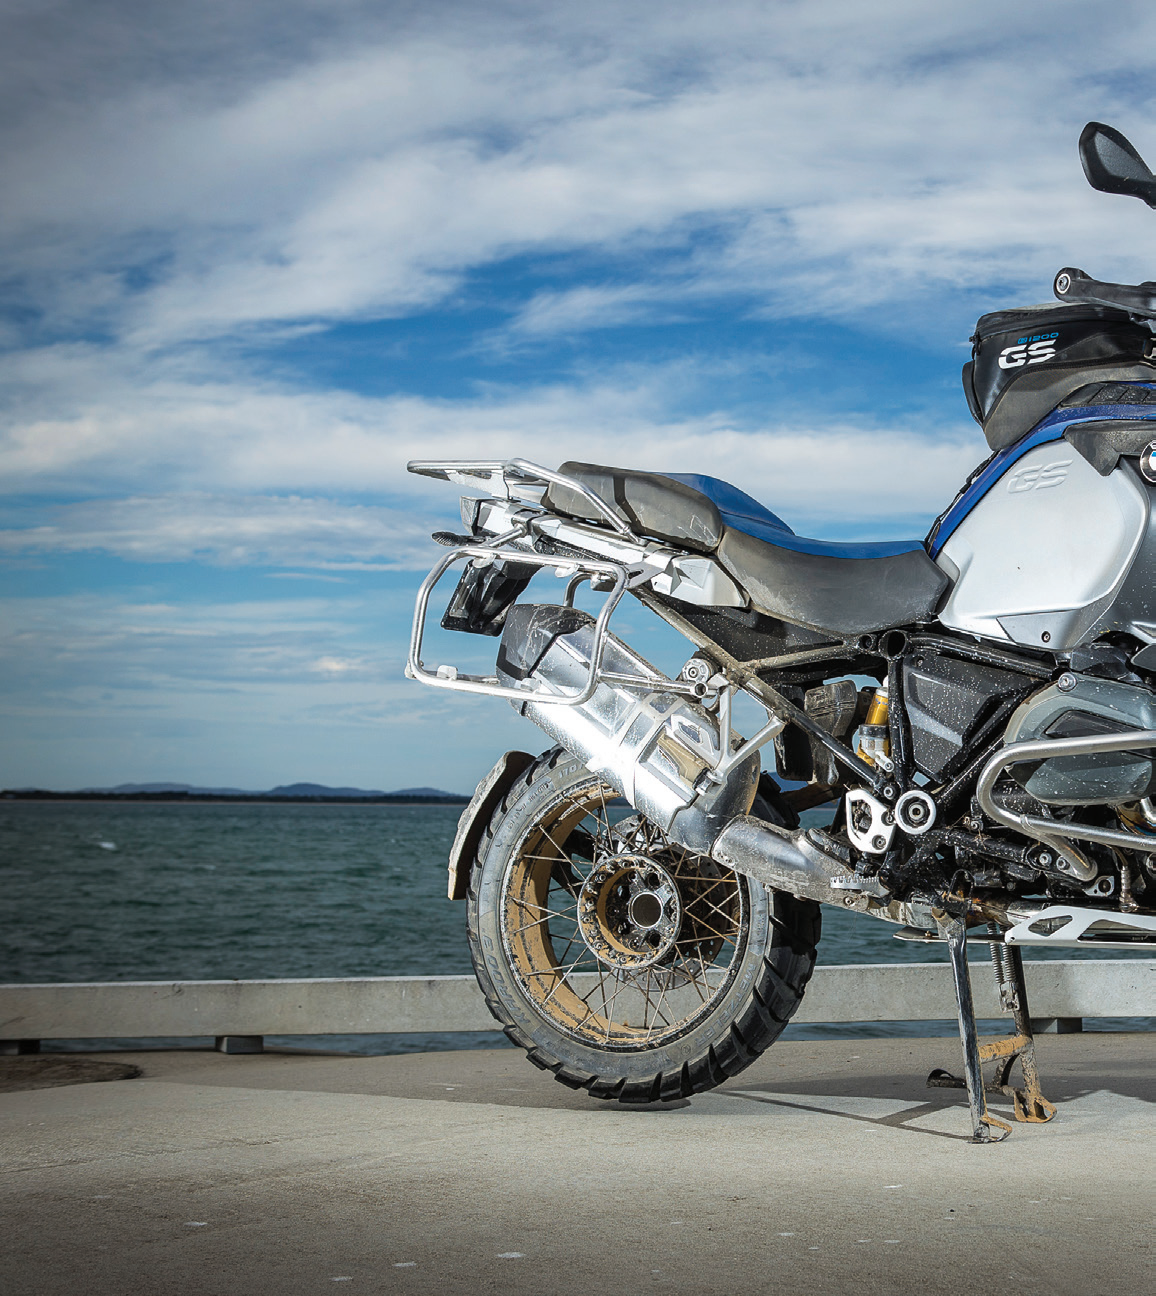
Wheel beerings
Check your wheel bearings. A failed bearing can put you out of a ride. Just bend down beside your bike, grab the top of the tyre and check for side-to-side play.
If you notice any, the bearings could be on the way out. Wheel bearings can wear faster than normal if you ride a lot through water, or pressure-wash your bike a lot and direct high-pressure water to the area. You should avoid this as it forces water past the seal and into the bearing. It’s a great idea to grease your wheel bearings every time you have your wheel off the bike for a tyre swap or whatever.
Just remove the wheel spacer and clean the area before reapplying grease. This can drastically increase wheel-bearing life and is worth doing, especially if you’re having issues in this area.
Good Oil
Check oil levels and for any signs of leaks. If the oil light comes on try and get to a servo ASAP to top up. Go for the closest spec to manufacturer recommendation, but don’t worry too much if you don’t get it perfect. If you’re doing lots of creek crossings or have drowned your bike, check the oil for signs of water. It’s easy to notice as the oil will generally look like a caramel milkshake. If you see this, change the oil right away. Continuing to ride the bike may cause an engine failure. If you’ve drowned your bike and are sure there’s water in the donk you have a chance to do something before you start the engine and turn your oil into milkshake. You can remove the sump plug to bleed out the water. It’ll be sitting at the bottom as the oil sits on top. Be careful to pop the plug back in as soon as oil starts draining.
Head check
Steering-head bearings should be checked for correct adjustment. If you notice any clunks or free play in the front end, it might just need a tweak. If your steering feels tight or notchy you probably need a new set of bearings.
Stay cool
Keep an eye on your bike’s cooling system. Problems here could be a big and expensive issue. If your bike is water-cooled, check the coolant levels regularly and check radiators and radiator guards for signs of damage or blockage. Sometimes mud and leaves can partially block the guard and reduce cooling, and this can be cleaned up easily once noticed. Check hoses and carry a spare hose clamp in your spares kit.
Bouncy bits
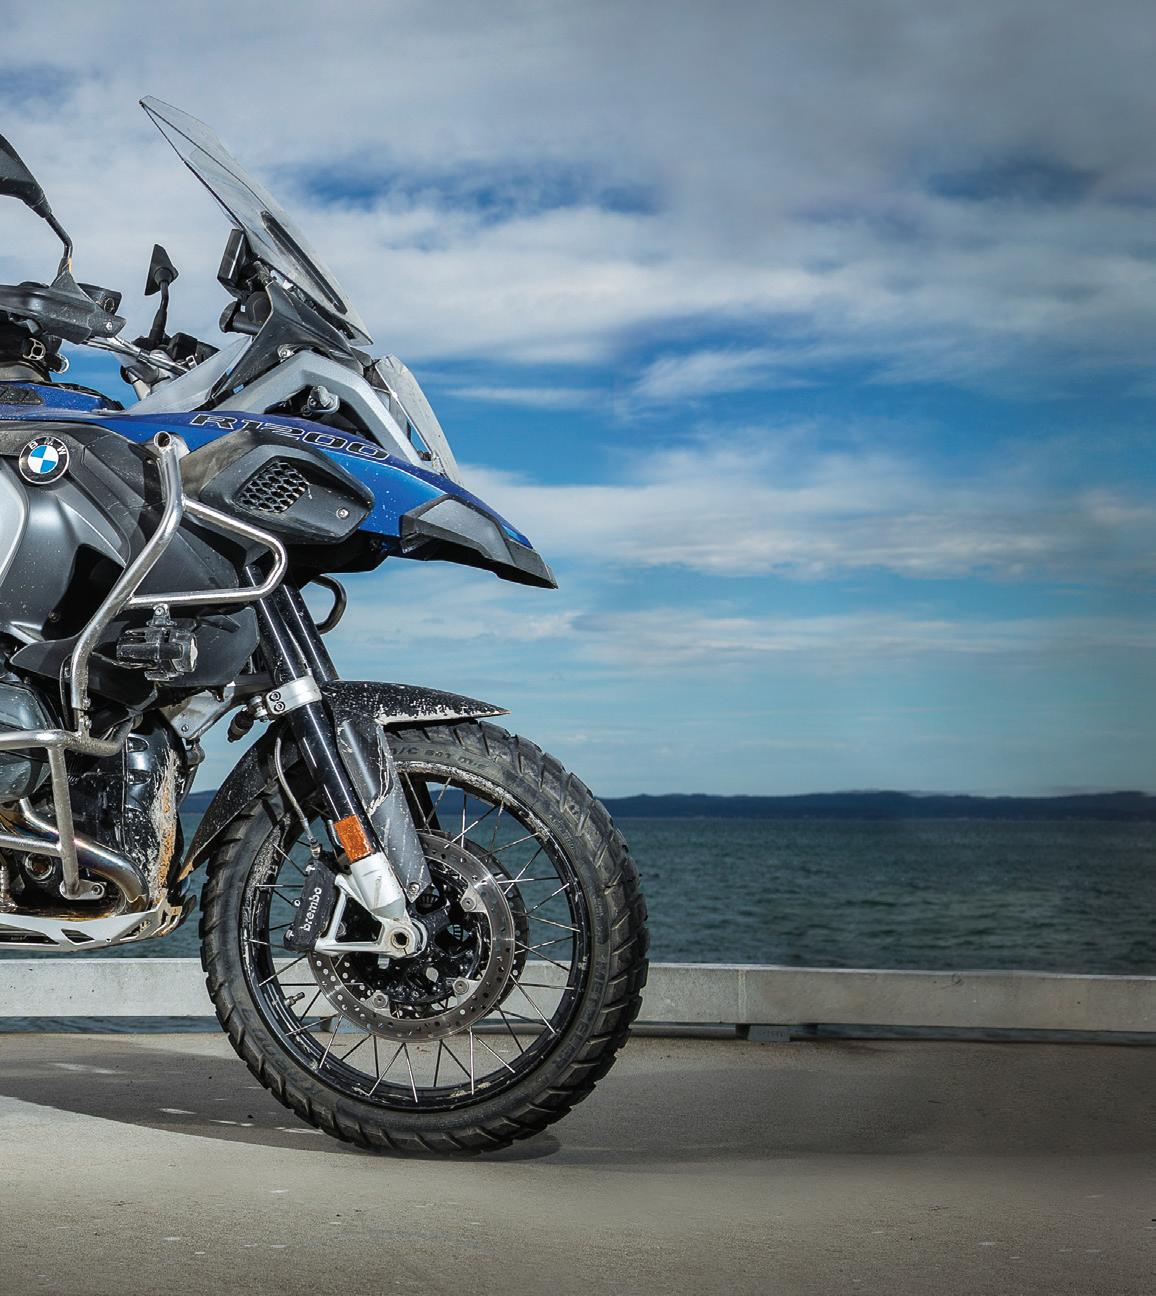
Suspension can cop a pounding, so keep an eye on it for leaks and general function. A blown seal will be easy to spot because it’ll be very messy. It’s not the end of the world so don’t panic, just get it fixed at the next opportunity. It’s not a bad idea to have your suspension serviced from time to time. Fresh oil and seals can really improve its performance. Maybe look at spring rates while you’re at it, so your bike is set up for your weight and type of riding.
Stoppers
You can easily check your brake pads and discs for signs of wear. If you ride a lot, I’d suggest having a set of pads at home to fit when you notice it’s time. It’s quite common for riders to run out of rear brake pads during a multiday ride. One reason is that some riders actually ride along with their foot on the rear brake while they’re in the seated position. It’s more common than some of you may think. Sometimes it’s because the rear brake is set high, which is great for access to the brake while standing. But the side effect can be the foot actually rests on the brake when the rider’s seated. If this happens the pads can wear really fast, or the whole braking system may heat up and fail completely. If you see a mate riding along with the brake light on, ride up beside them and see if their foot is on the lever. If it is let them know! Brake pads may also wear quicker riding in the wet, especially if it’s sandy or gritty. Check your pads and if they’re even half worn, fit a new set. Pop the used set in your kit to fit in case they’re required out on a ride.
Don’t lose It
Constant vibrations can loosen nuts and bolts. Check as much as you can with a shake and a visual check. Crash bars, pannier racks, subframe bolts, brake-calliper bolts, gear-lever bolts/linkages…everything! It’s a great feeling to catch something before it’s too late. Carry cable ties for the times you lose a nut or bolt. They can sometimes help you get through. Also keep an eye on your luggage and straps. Losing your kit sucks. Having it go into your muffler can cause a fire, and if it goes into the back wheel can cause a crash.
Love your bike!
Happy Trails.





Comments