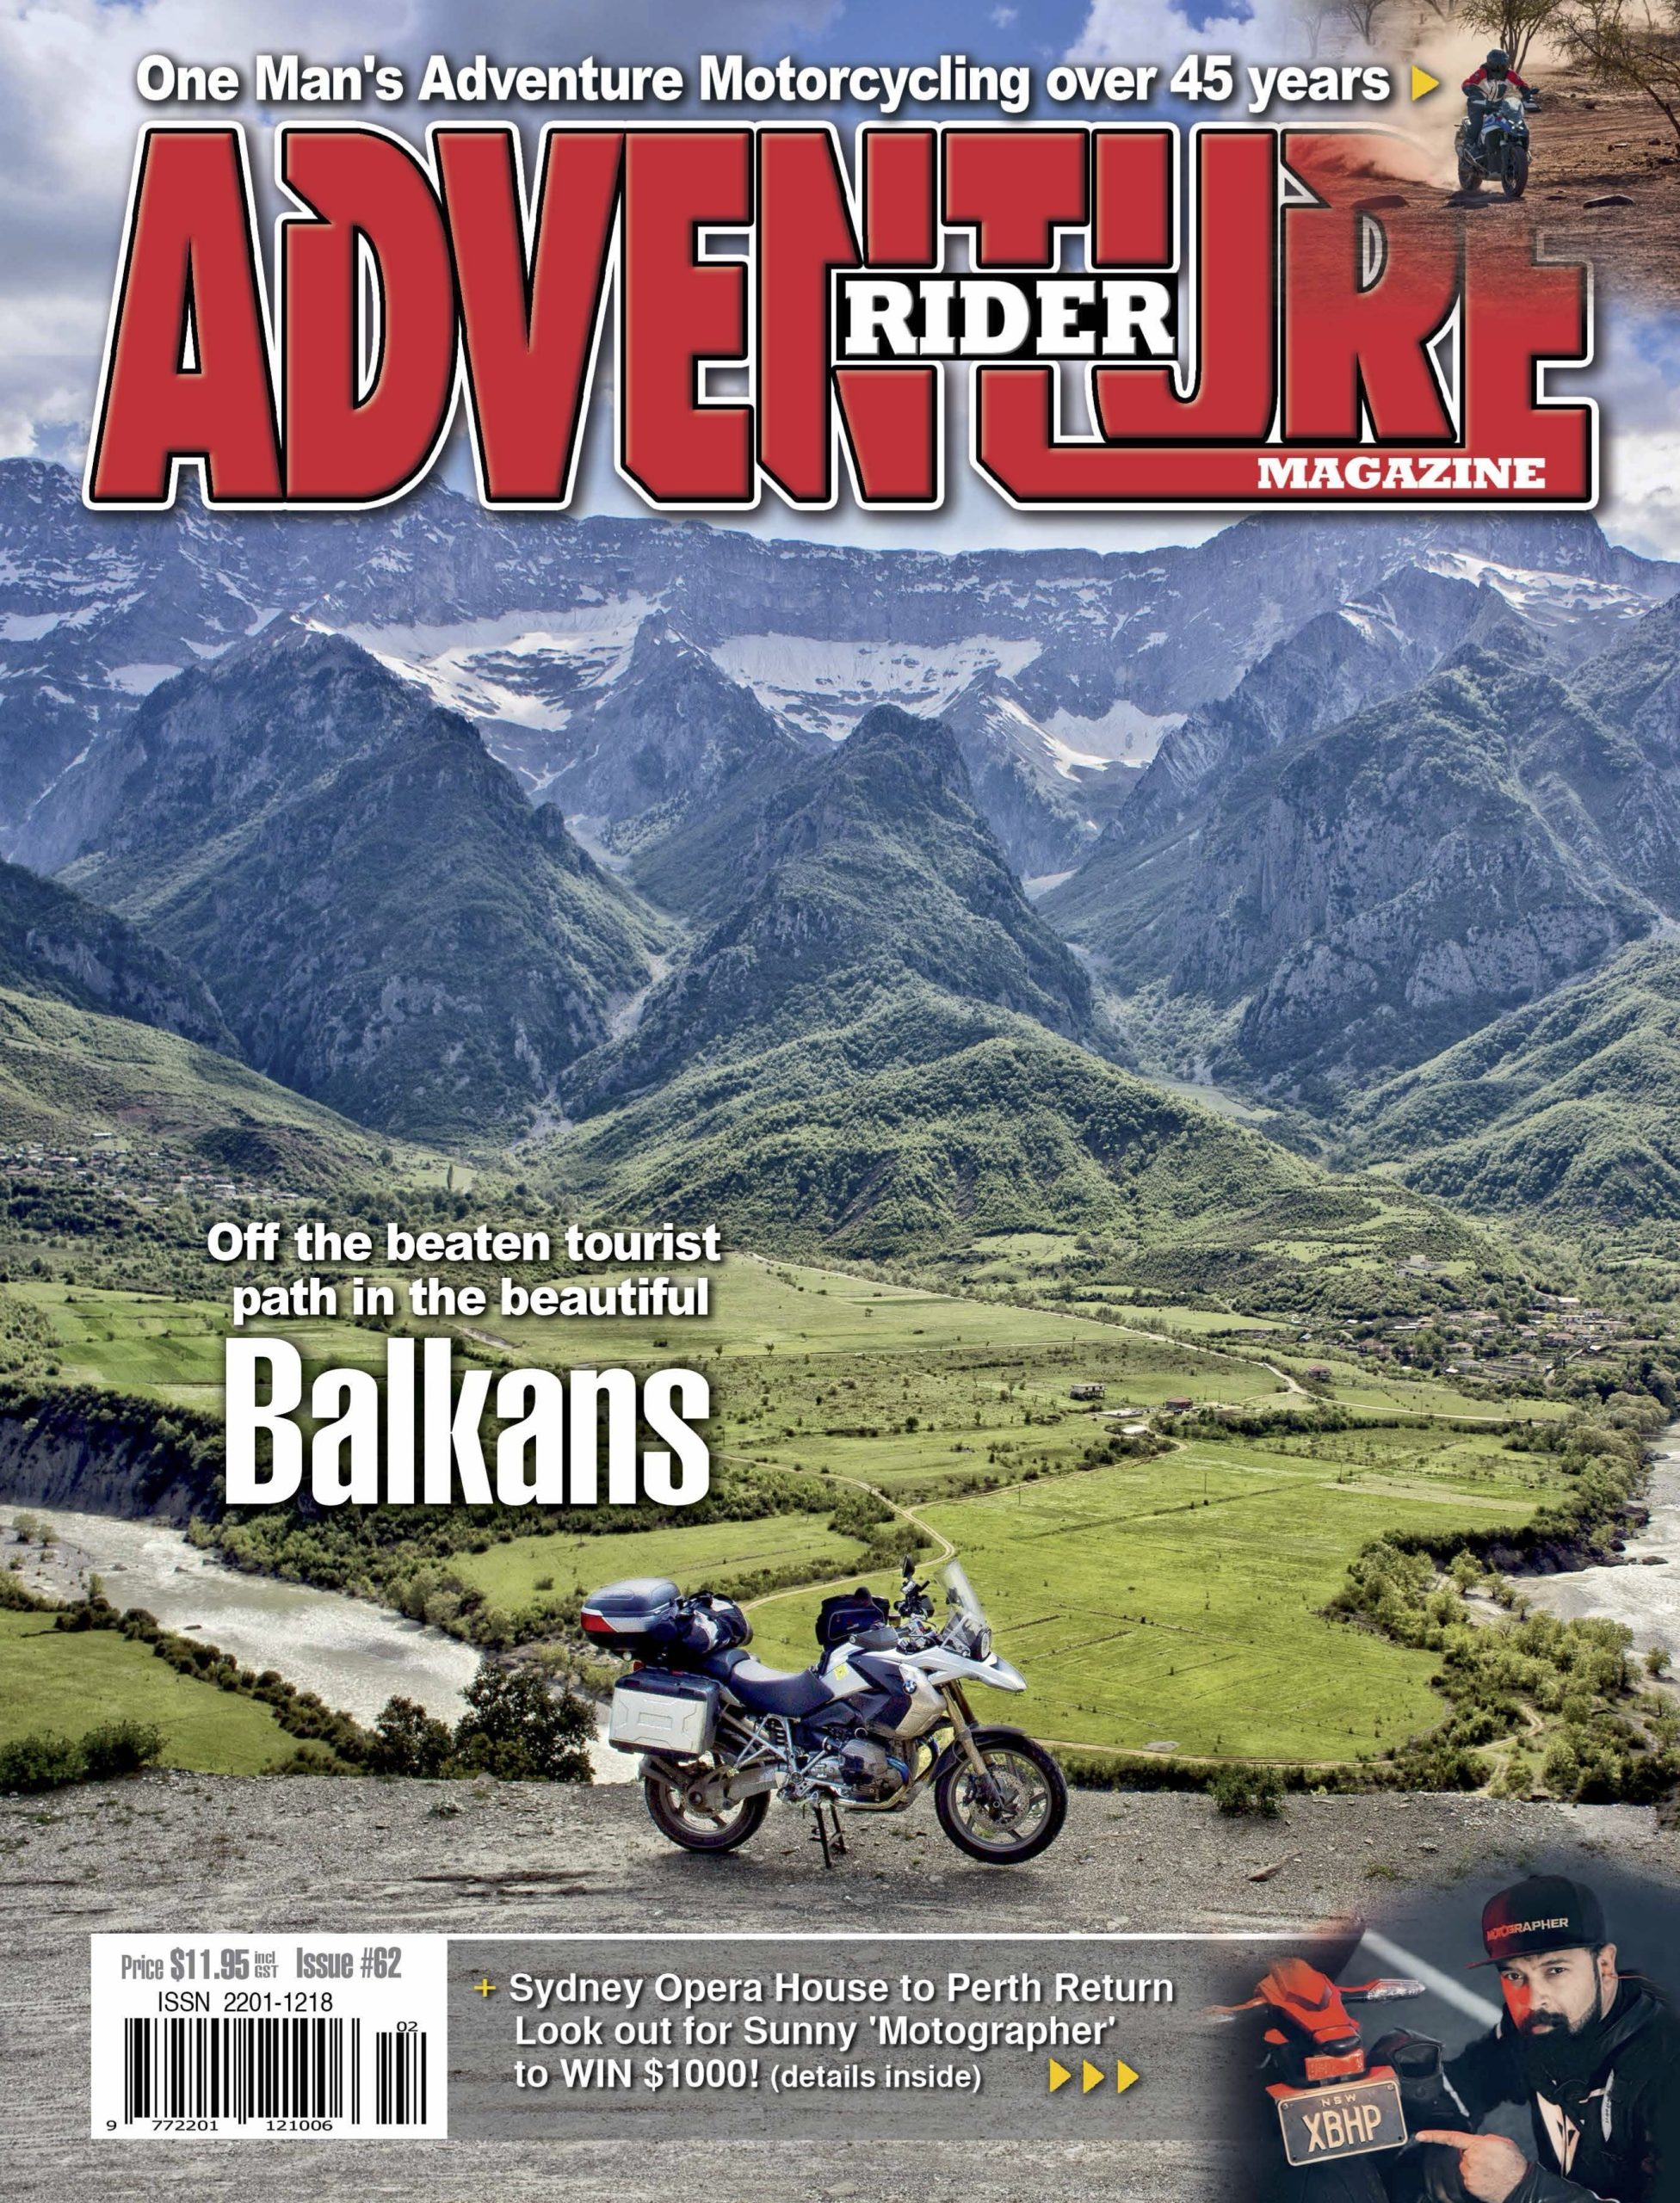
- It’s what we do
- Arnhem Land – A very rare opportunity
- TBC – The Ducati Multistrada 1200 Enduro gets a weekend away
- Hassans Walls – Bob Wozga scratches a Lithgow itch
- Four elements – Earth, wind, rain and fire from Andrew Bicknell
- Rod Faggotter – Back from Dakar and as cheerful as ever
- Mount Augustus – adventure motorbike tour, news, magazine
- Overseas crash – Ian Macartney crash tests Aussie hospitals
- Triumph Explorer 1200 – Yee-hah!
- South Island, NZ – adventure motorbike tour, news, publication
- Tech Tip – Tube tyre repair
- A DRZ to ride from coast to coast – australian adventure motorbike magazine
- All class with Karen Ramsay
- How To Ride with Miles Davis
- Out with the old – A touch of Touratech magic
- Checkout
- Fit out
Last issue Miles Davis outlined the importance and advantages of good-quality apparel and equipment. This issue he has some pointers for looking after it.


Like many sports and hobbies, adventure riding has quite a bit of kit that goes along with it. Your bike,accessories, spares and tools for instance. There’s also apparel – jackets, pants, liners, boots helmets gloves and so on. You can do it on a shoestring and do with-out many of the nice-to-haves, or you can be fully equipped and have the lot.
Regardless, there’s quite a bit that goes into researching and buying your kit. It can be expensive, so you might as well look after it so it lasts and you get your hard-earned money’s worth.


Apparel
I’ve been fortunate in being provided with top-shelf adventure-riding gear for the last 10 years and I really appreciate its worth. Riding in dust, rain and mud can really take its toll on gear, so it pays to wash it every now and then.Once it’s washed there are a few things you can do to keep it working like new:
• Washing
After some rides your gear almost doesn’t look like it’s worth keeping, but a thorough wash will have it looking pretty good again. I learned quickly if your gear has body armour built into it – like the Rallye Pro suits – it’s tricky just getting it into the washing machine. Removing all the armour can be a headache, and getting it back in is even worse. I’ve had great results by simply removing the large back protector and leaving all the other smaller items (knee, hip, elbow and shoulder pads) in place. That way it fits in okay. The back protector is the easiest item to remove and replace.


• Waterproofing
Some gear relies on zip-in waterproof linings for its waterproofing, while the outer layers are treated to be water-repellent. That’s all good and fine, but after use and washing the outer layer needs to be re-treated to retain its water-repellent qualities. You can do this by treating it with Scotchguard, or by adding an agent to the wash when you’re cleaning the gear. I have had good results from Scotchguard so that’s what I do.
After your gear is washed and dried, hang it on hangers in a well-ventilated, but non-windy, outdoor area. Spray the Scotchguard evenly, let it dry for an hour and do it again. The next time you go riding the outer layer won’t suck up moisture like a sponge, and it’ll repel water like it did when it was new.


• Zips
When you think about it, zips have a pretty rough time for the reasons already mentioned. Dust in zips must be like grinding past to those tiny plastic teeth when they’re being used. And now some zips are waterproof, so they’re probably even more sensitive. After you’ve applied your Scotchguard go around with a can of silicone spray and give all the zips a squirt.
It’s amazing how well they’ll work, gliding up and down without any friction.
• Boots
I have a bit of a process for my GS boots. They have removable liners so they get a wash every now and then, or even just an air out between washes. Near my garden tap I have a bit of pipe in the ground and I sit my boots upside-down on the pipe.
This way you can hose the hell out of them and the water drains out, not into the boot. Sometimes I use truckwash to get them clean easily, but I did notice my Sidi Crossfires had probably suffered a bit from the truckwash, so maybe use some lighter soap instead.
Let the boots dry and then hit the buckles with some silicone spray.
They’ll work a treat!


Luggage
There are lots of different luggage solutions, but they’ll all benefit from the same sort of love as your gear. Maybe you won’t put it in the washing machine, but you can hose it or wipe it down, re-waterproof it if it’s textile, and lubricate any zips.
I know from experience with the BMW waterproof duffle bags that the water-proof zips end up being quite hard to move. This is when the zip is getting worn and unhappy. A squirt of silicone zip spray – available from most hardware or camping stores – after you’ve given it a wash or wipe over will extend its life in a big way.


Helmets and goggles
In Australia an adventure helmet can have a really tough life. It’s often in use 10 hours a day, in up to 50 degrees, pumped full of sweat, dust and the odd tear. They can really stink and get nasty.
After every GS Safari I’ll remove the liner and wash it. While the liner is out I’ll give the helmet a light wash with warm water and some light hand soap. The chin straps can do with a good going over as they turn pretty feral. At this time I’ll generally remove the visor and give it a rinse under the tap. If it’s got a pinlock I’ll remove it and rinse it separately.
Let it all dry off and air out before re-installing the visor (or replacing it if needed) and liner. The next time you put on your lid it’ll feel pretty fresh and not make you want to dry retch.
The same for googles, rinse them under the tap with warm water, get the dust and sweat out of them and you will be good to go for your next adventure.


Hydration pack
Give the Camelbak a bit of a wash or wipe down, remove any perishable food, and replace any spares like cable ties and so forth.
I only put water in mine so I don’t bother draining it, but if you use some sort of supplement powder I’d suggest draining and rinsing the bladder before storage or it might get a bit nasty.
Here’s a tip: to keep the bladder from going manky during storage, keep it in the freezer.


Tools and spares
It really sucks when you’re out on a ride and you need something you usually have in your kit but you didn’t replace from a previous ride.
My trick is, don’t put it away until it’s ready for your next adventure.
Leave it somewhere where you’ll see it so you can replace that tube or cable ties before your next ride. If you know you didn’t have something you needed, make a list or send yourself an email at your next pit stop reminding you to do it when you get home.
Techno
The list of ‘devices’ for adventure riding is big and seems to be growing.
It makes sense to look after them.
Check it, clean it, re-charge it, download tracklogs and file them for future adventure planning. I’ll try to recharge helmet comms systems before I put them away so it’s likely to have good charge if I need it in a hurry.
Check or replace batteries in SPOT trackers.
Camping gear
The same processes as already mentioned will help you keep your camping gear happy and ready for action. Clean it, air it out and it will be ready to go next time.
Dialled
Once you have a good routine, stick to it. Make sure you know where your gear is and know when you grab it it’s ready for your next adventure.







Comments