- It’s what we do
- Aussie Ron Does New Zealand
- Our Island Home
- Yamaha Ténére 700
- Northwest Or Bust
- Two In One
- Help Me If You Can
- Why, Brother? There’s Nothin’ Much There
- Touratech Compañero World 2 Suit
- 8 Blokes. 9244km. 1 Great Ride
- An Interesting Week In The Andes
- Taming Hills with Miles Davis
- Sole man with Andy Strapz
- Holding Hands with Karen Ramsay
- Fit Out – Touratech Yamaha XTZ 700 Ténéré
- Checkout
There’s something about conquering a hill that’s very rewarding. The bigger the hill, the bigger the bike and the trickier the conditions, the more the challenge and the greater the satisfaction.
But knowing how much to bite off isn’t always obvious. Some riders will avoid anything they’re not very sure of, while others will give anything a go.
Sometimes it doesn’t work out as planned.
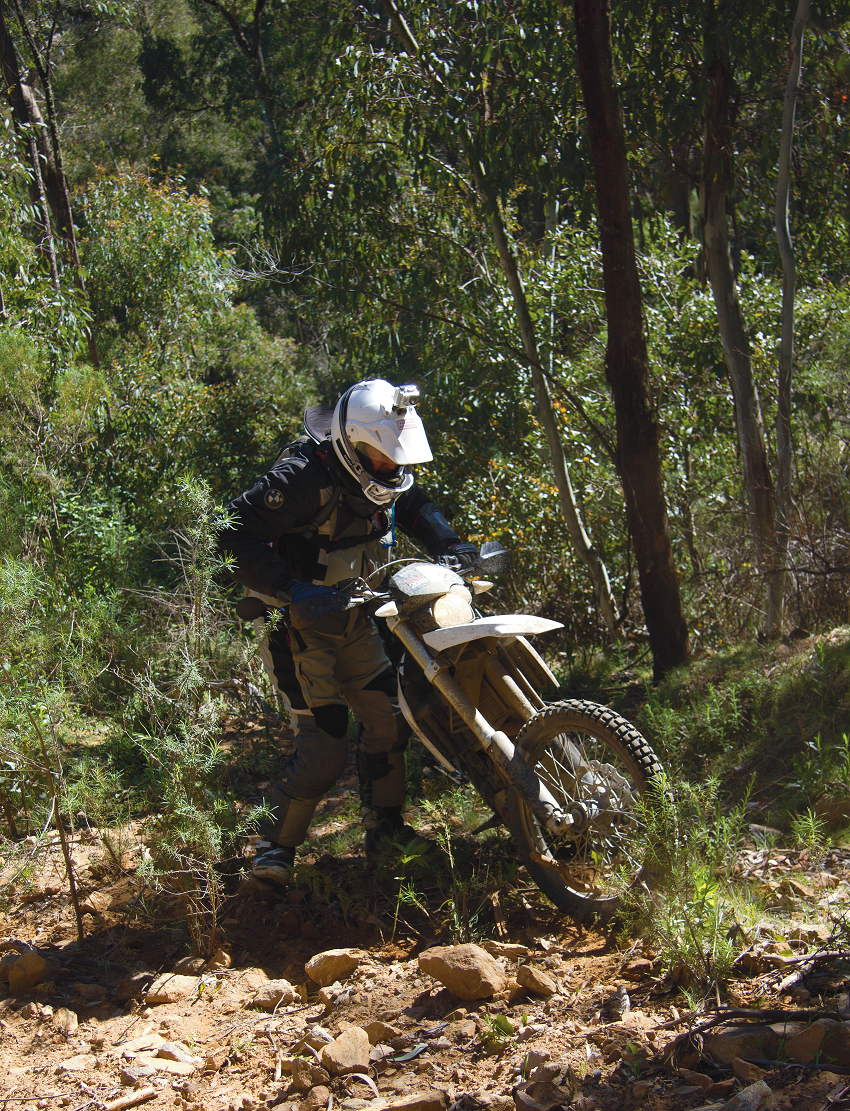
Evaluation and decision
With some experience you should be able to assess hills you can attempt and hills you should steer clear of. It’s really all about the package, and by that I mean:
• Your skill, experience, fitness, or lack of these things
• Your bike – is it at the bigger end of the adventure-bike scale?
• The conditions – traction levels, wet or dry and so forth
• The hill itself – how steep? How rutted? How loose? Do you know it already or not?
On a big bike, there are some hills I know I can make in the dry, but I wouldn’t attempt in the wet. On my small bikes, I’m more likely to try many hills, wet or dry, but there are still some I know are probably impossible in the wrong conditions. Too many times I see or hear of riders getting it totally wrong at this first stage, then getting themselves into trouble. It really helps to learn how to best pick your battles.
Once you’ve decided you’ll give it a go you need to commit and be positive. If you don’t commit, or you hesitate, your chances of success are very slim.
 MilesDavis
Line selection
Some hills have multiple line options, others may only have one. That might be due to deep ruts, rocks, ledges, bad cambers or any number of things.
Understand your preferred line and try to stick to it by looking well ahead and staying on track. You need to be agile and ready to make instant steering and body-position corrections to do this. If you’re hesitant you’ll possibly go off line and end up stuck or upside-down.
Be versatile, some hills may have options. If you get bounced around you may end up off-line, but still able to make it if you adapt and keep your momentum.
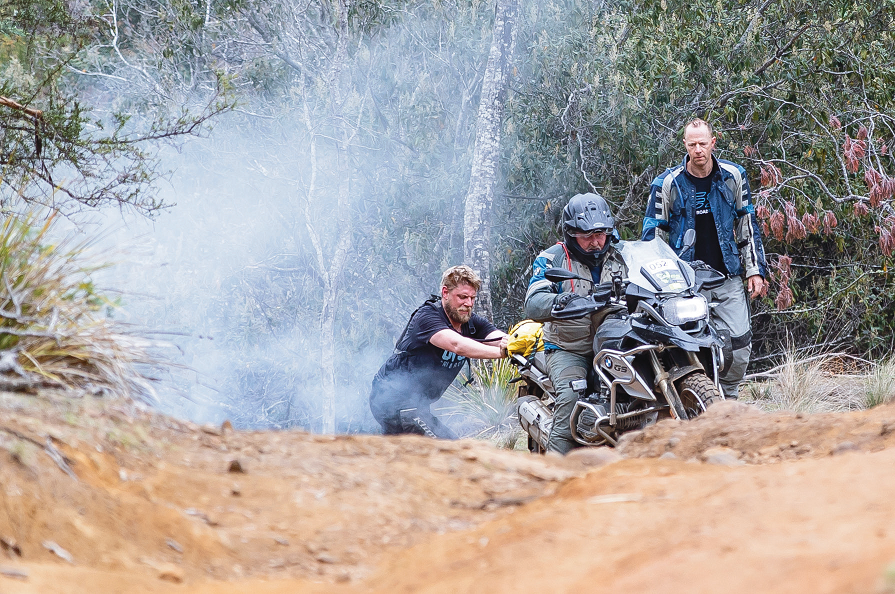
Body position
You can vary your body position depending on the situation.
When traction is good you may opt for the textbook standing position, leaning forward on the bike with bent elbows. If grip is low, you may need to lean back more to weight the rear tyre to maintain drive, or even sit down and slide back on the seat. Being versatile, reading the situation and automatically adjusting your position is crucial to making it up more challenging hills.
Be loose. Be balanced. Be agile.
The Lego-man stance won’t get you up technical climbs.
Momentum
Momentum is your friend!
Understanding the level of momentum needed to clear a hill, or sections of a longer climb, is crucial.
During training courses it really blows people’s minds when I demonstrate rolling up to a steep pitch slowly, then applying a sharp burst of throttle at the base (or transition). The suspension compresses and pushes the tyres into the ground creating predictable traction and driving the bike forward with little or no wheelspin. Apply the throttle too hard, too light, too early or too late and the effect is not the same. Timing and precision are the keys to the manoeuvre.
Certain hills in low-traction conditions may need a slightly higher approach speed to gain the required momentum.
Sand dunes will probably need a bit more, for instance. Understanding momentum and being able to create it as required is vital to getting up hills.
Less-experienced riders will back off the throttle as soon as the bike moves around, and this can really kill momentum and your chances. The better option is to settle the bike with a slip of the clutch, then, re-engaging smoothly, maintain momentum and traction.
Big run ups with big speed may work on an easier hill, but when it gets rougher and more technical, skill and precision will be the deciders.
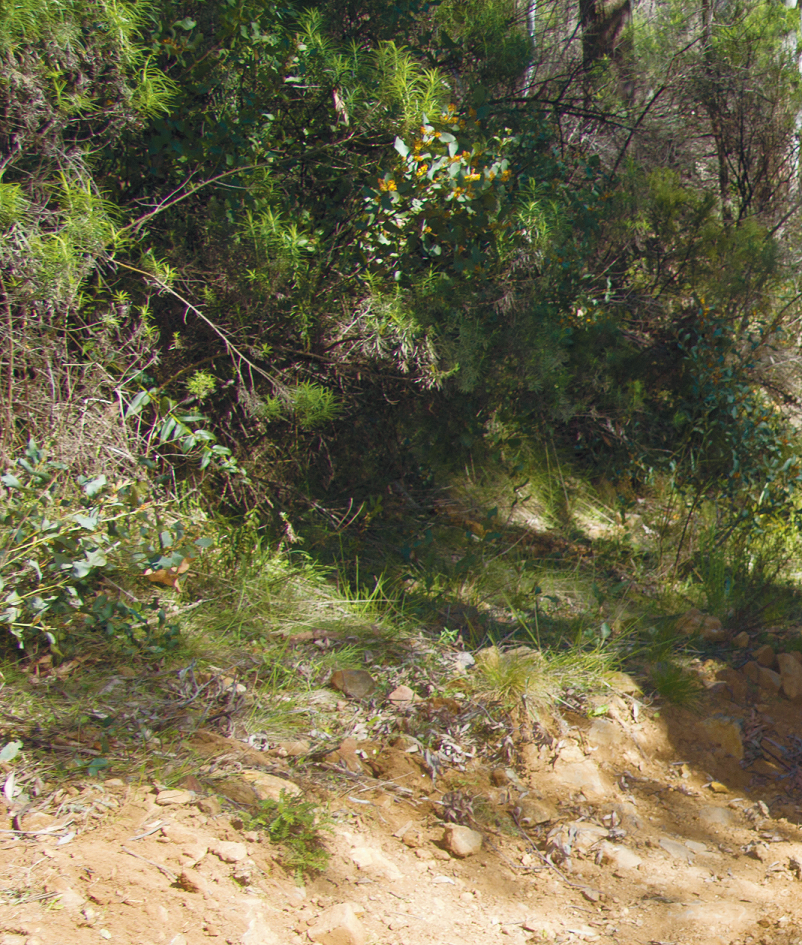
Gear selection
Depending on the run up, steepness, and roughness of the hill, you may be in first, second or third gear, or maybe even higher depending on your bike. Select a gear where the engine is humming, not overrevving and not bogging down. As required, be ready to drop a gear quickly and/or use the clutch to keep the engine humming and maintain momentum.
Abort mission!
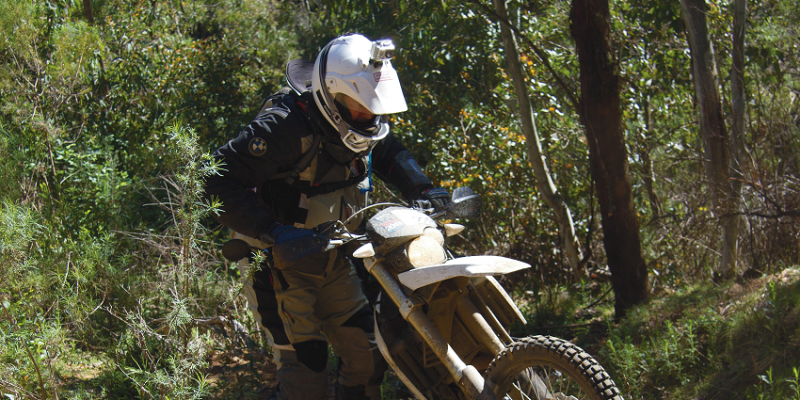
Despite your best attempts, sometimes it just doesn’t pan out. You lose momentum, you get bucked into a terrible line, or something else goes wrong. Knowing when to abort the attempt before crashing is another key skill for attempting challenging climbs.
If you feel your momentum drop before a particularly challenging section it may be best to stop, turn around and go back down. You may try again or you may not, that’s up to you. But stopping and turning around may sound easier than it actually is, especially on a big bike halfway up a climb.
First, know where and how to stop.
Look ahead and pick a good spot where you’ll be able to keep balance and get a foot on the ground. Looking at the exact spot you want to stop, pull on the front brake and stop without pulling in the clutch. The bike will stall, and with the bike stalled it should feel quite stable and not roll back. If you pull in the clutch and try to hold the bike with the front brake you’ll slide backwards, which isn’t a nice feeling.
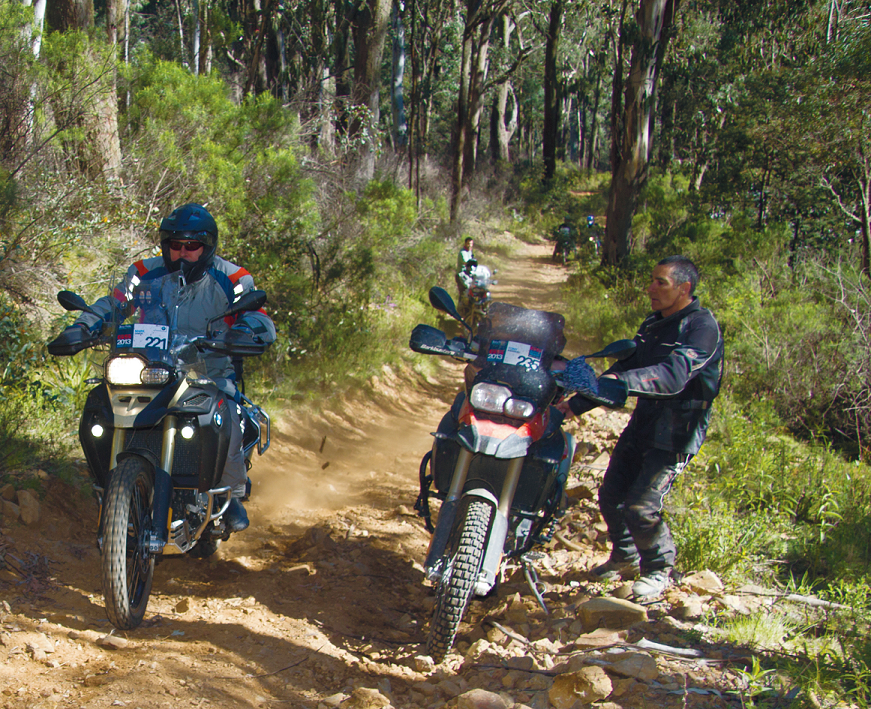
Hill recovery
The hill-recovery technique is always a popular one at courses. Once people know they can turn their bike around they feel more confident to try more challenging hills.
Here are the steps…
1. Stall as already described
2. Evaluate which way to turn the bike depending on the surface, ruts and so forth. Reverse to the left or right. This will
let you know which foot is going to become your uphill foot and which will be your downhill foot as the bike rests across the slope. This is important. Your downhill foot should stay on the footpeg to help avoid you accidentally going for the ground – which won’t be there
3. With the steering on full lock to the direction you want to go, slowly pull in the clutch to get the bike to ease around. Keep your finger off the front brake and keep your vision up for balance. Small, controlled movements are what you’re looking for
4. When the bike has swung around across the hill and won’t move anymore, shift your attention to the handlebars and give quite strong steering inputs from full lock to full lock the other way. The front wheel will crab around and start to point more downhill
5. When your full-lock inputs no longer move the front wheel down the hill you’ll hopefully have a pretty good angle down the track and it’ll be time to think about your take off. There are two options: engine off/clutch in, using your brakes to control speed; or engine run-ning, using brakes and possibly engine braking to control speed. If it’s very steep most adventure bikes won’t have low enough gearing for the engine brake to be effective. Get used to both techniques so you have both options covered as required.
Make sure you get a clean takeoff without stalling or losing balance, but keep your speed in check. Don’t let the bike accelerate too fast as it can be hard to control that speed. Don’t become a cannonball.
Wrap
• Good strategy and technique will get you up hills much better than a new tyre or low tyre pressure
• As always, practice helps. Start with smaller challenges and increase difficulty in increments
• Look ahead, AND
• Momentum is your friend, stay loose and agile on the bike.





Comments