- It’s what we do
- Northern Congregation – Fantastic!
- Gone pear-shaped – On the SPOT
- Tread carefully – Adventure Tractionators
- TransTerra Four Day – Mark your calendars for 2017
- Reader’s Ride – Good mates and good riding
- Tech – Lubing cables
- Ride right – Bike set- up advice
- Ténéré not so tragic – another Peter Payne creation
- Doohickey demystifed – KLR owners pay attention
- BMW F800GS – Last ride…almost
- Kashmir: mystic adventure – Part two
- Inspirations with Karen Ramsay
- How To Ride with Miles Davis
- Preparing For Adventure with Andrea Box
- Checkout
- Fit Out
Cables are fast disappearing from modern bikes, but there are still plenty around and most riders ignore them until they break or cause a problem.
This is partly because modern Teflon-coated cables have an amazing lifespan and need very little maintenance.
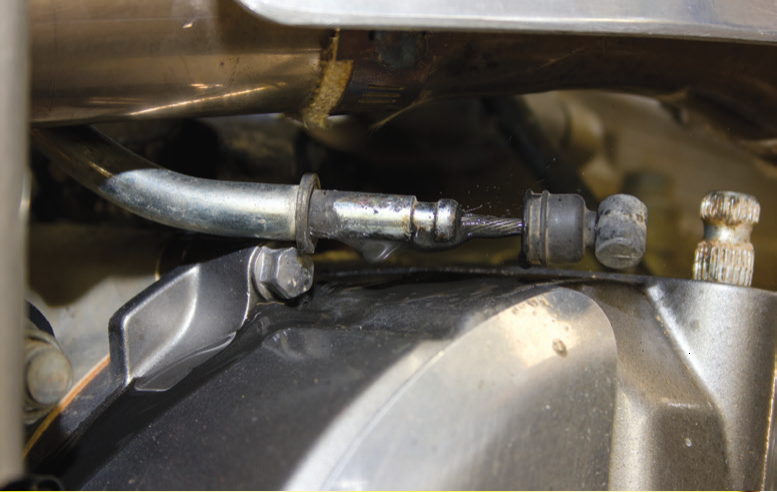
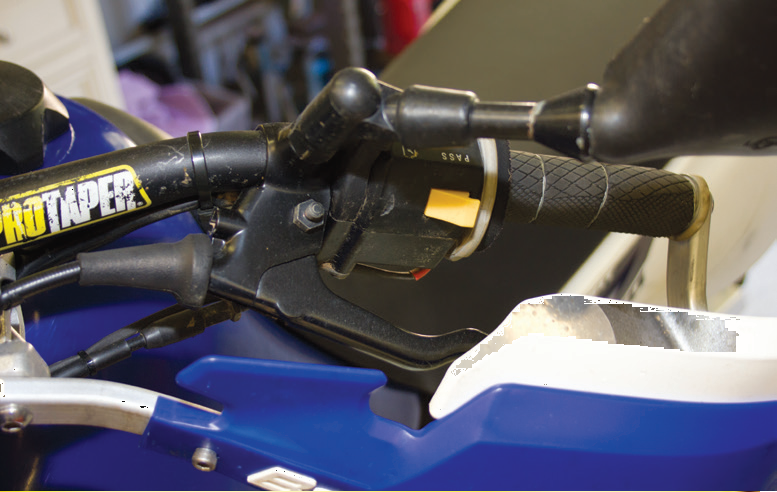
But there’s still a substantial gain in performance and durability available from steel-wound cables if they’re lubed regularly, and there’s still plenty of steel-wound cables in use. You’ll be amazed at how much lighter a throttle or clutch will feel if it’s given a good dose of lube, especially if it’s been allowed to gunk up.
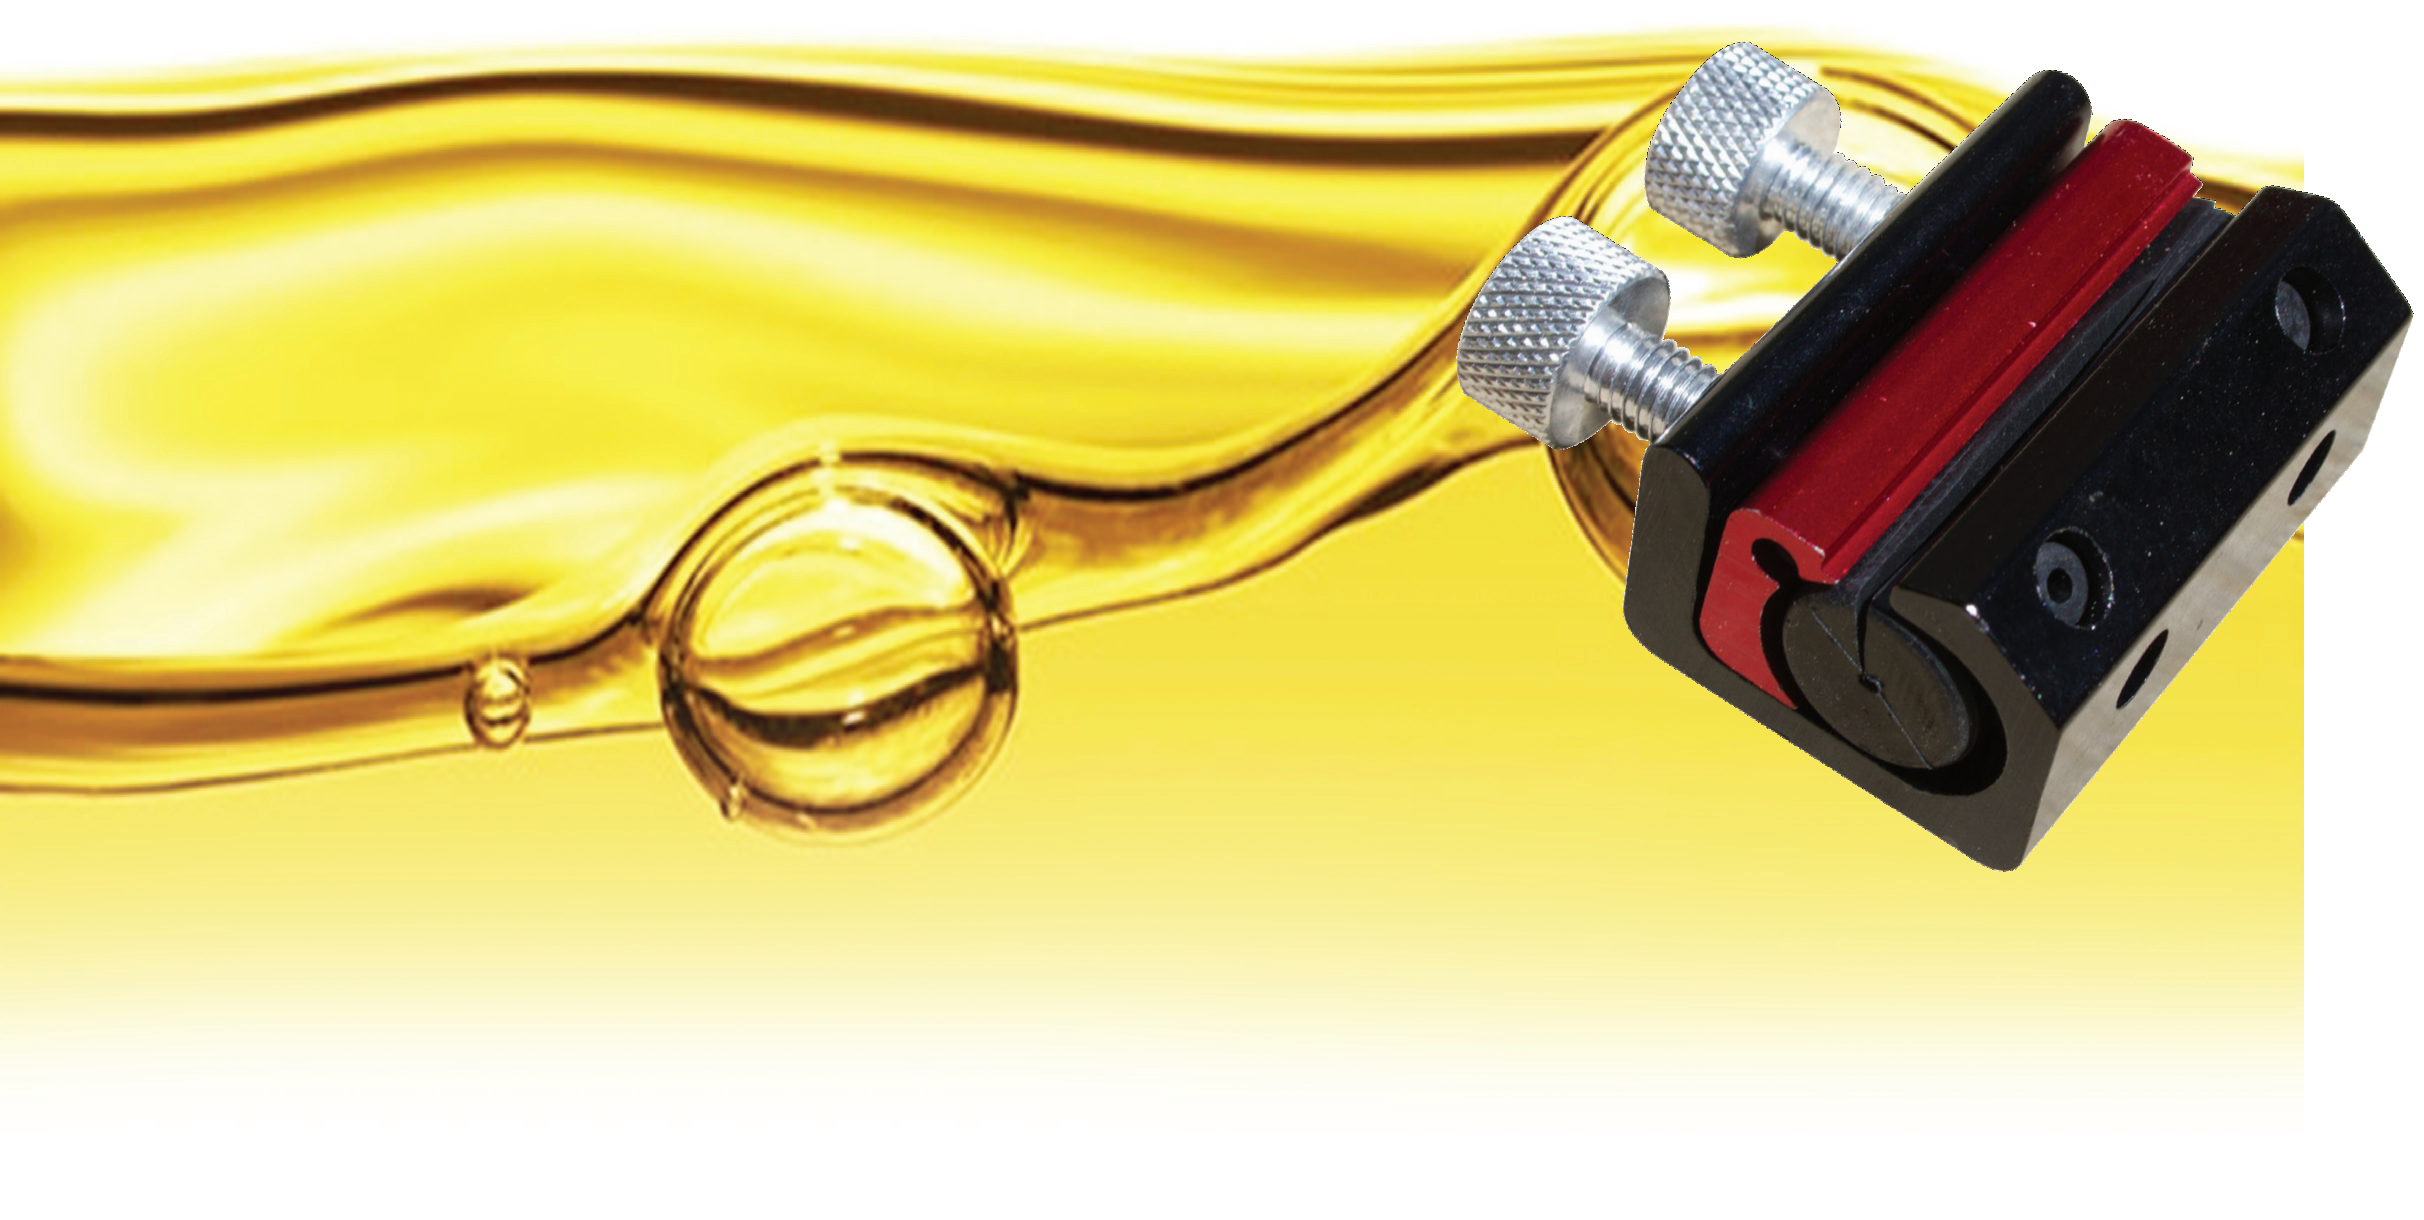

Just to cover our bases, check your owners’ manual for advice on whether or not the cables on your bike need lubing.
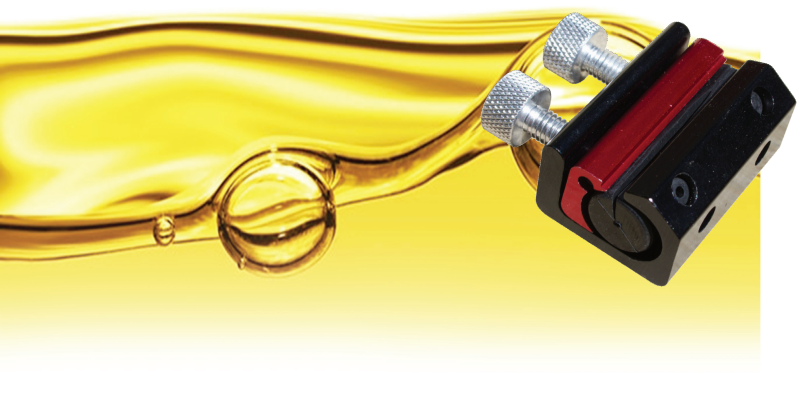
We see plenty of people using WD40 for lubing cables and it isn’t ideal for the purpose. We like to purge any crud with WD40, then lube the cable with a purpose-specific cable lubricant. You can get one of those from the bike shop, too.
Here’s how it’s done…
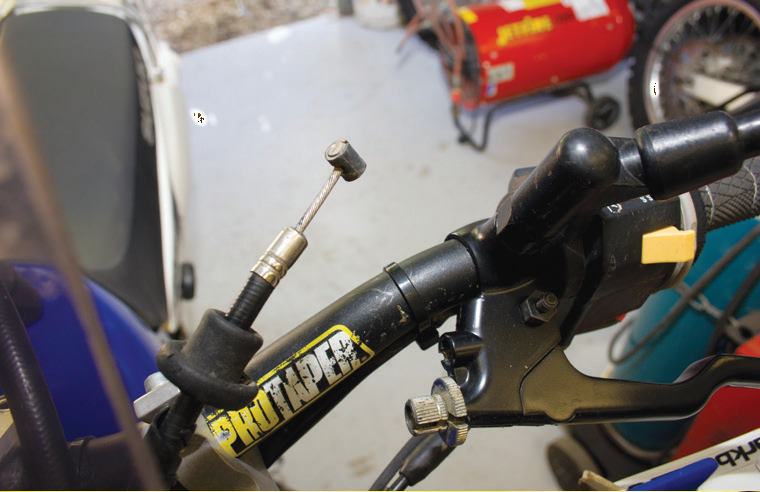

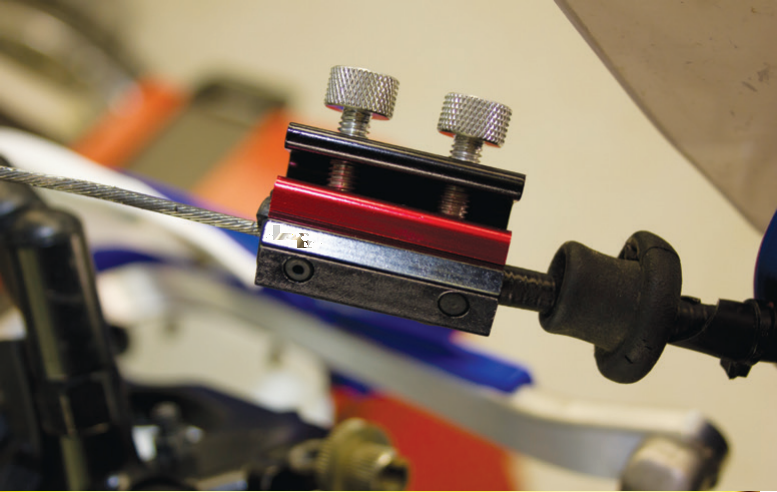

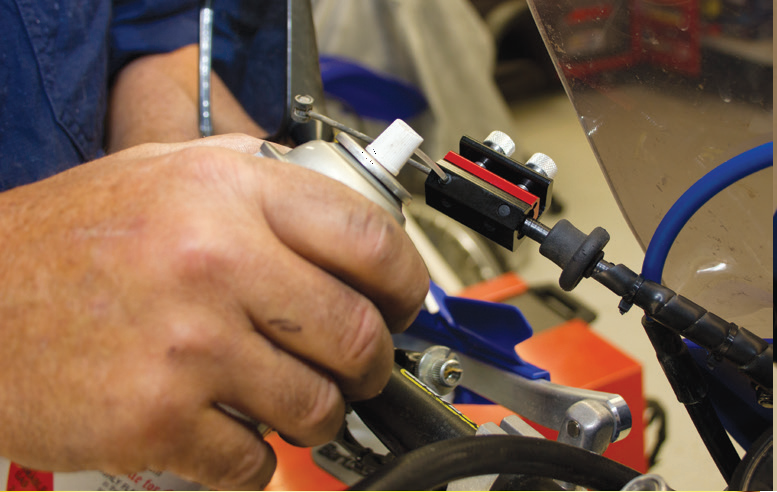













Comments