
- It’s What We Do
- Riding the Cordillera Blanca – South America at its best
- BMW F800GS – Off to the Safari Enduro
- Industry Player – Geeze Goldhawk
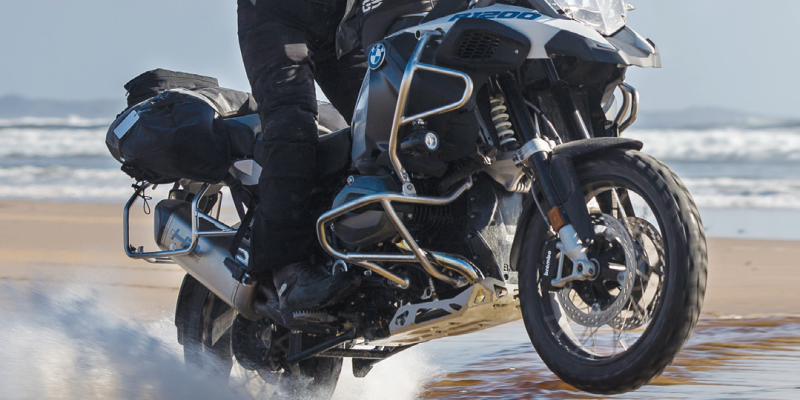
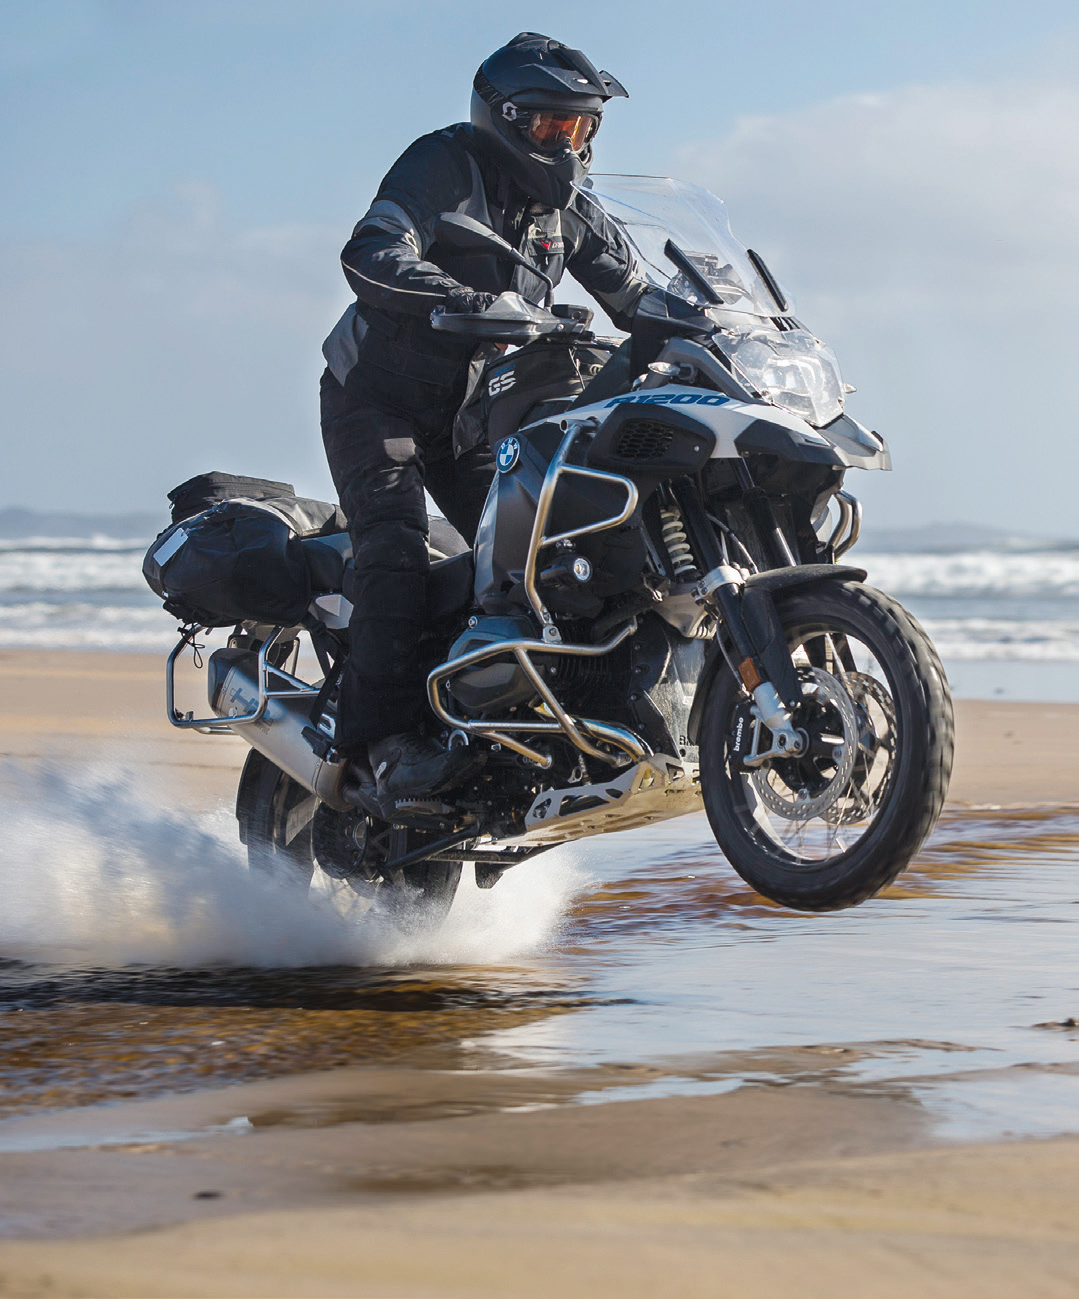
- White sand to red dust – A PLB story
- Crazy Kunzum La – A tough run in the Himalayas
- Ladies only – BMW Off Road Training
- Off-road Test – Husqvarna 701 Enduro
- Across Australia – From the Indian to the Pacific
- Tour Of Duty: A Victorian three-day
- KTM Rallye 2016 – KTMs all over the place
- Domestic bliss – At home with the Ducati Multistrada Enduro
- Reader’s Ride – The Flinders
- Trials and tribulations with Karen Ramsay
- Dunns swamp – Another great secret location
- How To Ride with Miles Davis
- Checkout
- Fit Out
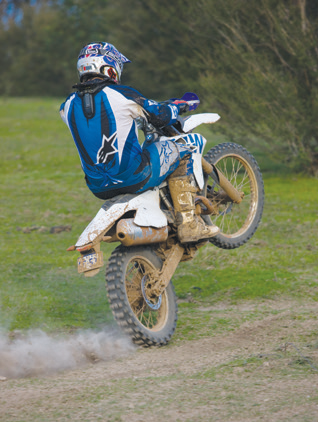
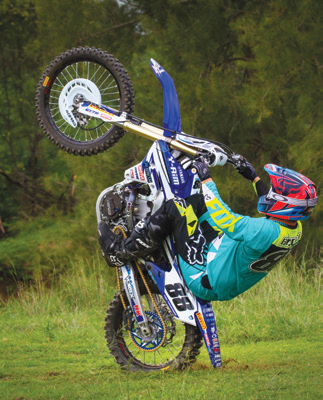
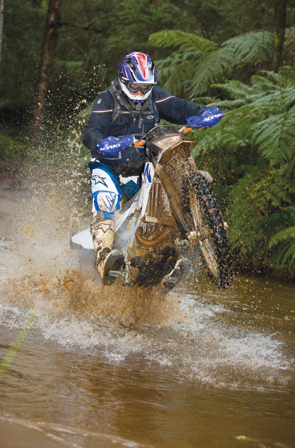
Miles Davis looks at a great skill that’s a lot of fun.
 There’s a lot goes into a wheelie – throttle and clutch control, timing, body position and vision.
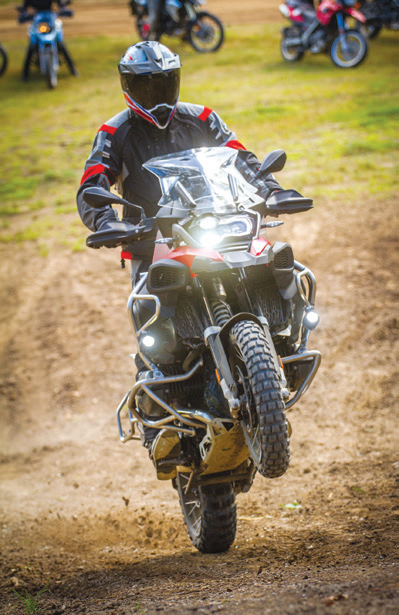
Wheelies are cool, ask anyone! They’re also handy at times, whether you want to loft the front wheel over an obstacle or style it up for a crowd crossing the finish line, it’s something a lot of people just wish they could to do. I don’t know many people who were born with the wheelie gene.
I’m sure there are a few, but like most things, wheelies are something learned with lots of practice.
Highs and lows
There are lots of different types of wheelies. Here are a couple most of you will know:
• Low-speed lofts – where you lift your wheel over an obstacle like a fallen tree with a blip of throttle and quick-but-controlled release and re-engage of the clutch;
• High-speed loft wheelies – where a rider may simply add a dose of throttle to loft the wheel over a dip to keep the bike tracking nicely over uneven ground.
Then there are the trickier versions:
• Low-speed balance-point wheelies – usually reserved for enduro or motocross bikes. At walking pace, the rider lofts the front wheel very high, straight to the balance point, slips the clutch and drags the rear brake to maintain the height without increasing any speed;
• High-speed balance-point wheelies – the rider gets the front wheel quite high, clicks a few gears and uses throttle and balance to keep the front wheel high for a significant distance at speed.
There is one thing for sure, until you have it dialled, it can all go pear shaped in the blink of an eye. That being the case, it is very advisable to gain confidence with the slow-speed variations before you go for the higher speed options, so when it does go upside down it’s more likely that you will get up and have a laugh and not a helicopter ride.
Basics
It definitely helps if you have some balance, but there’s quite a bit that goes into a wheelie – throttle and clutch control, timing, body position and vision to name a few. We’ve covered all these in previous columns and they’re vital skills when it comes to pulling off a sick wheelie.
The right equipment helps, too.
Learning how to wheelie is best done on a low-output, small-capacity, lightweight trailbike. Once the skills are learnt they’re quite easily transferred to bigger bikes.
Bikes like Yamaha’s TTR 250 are perfect, but anything similar will do the trick (I had my wheelie breakthrough on a KLX300).
Four-strokes are handy as the engine braking can save some unnecessary loop outs. Two-strokes aren’t as forgiving because when you chop the throttle the front doesn’t drop as quickly, or at all.
You can practice on a bigger bike, but you want to take it a bit easy as the challenge is bigger, as are the risks.
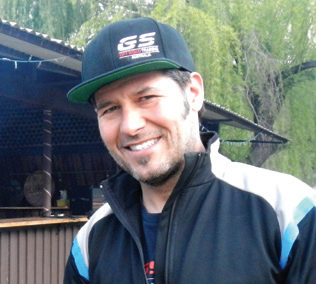 Miles Davis
The right place
The right location helps too.
A gentle uphill is ideal and a consistent surface helps a lot – like a basic sloping hillside or paddock. When you decide it’s time to put in the practice, find a good spot, practice wheelies up the hill and stoppies or rear-brake skids down the hill. This can bring hours of entertainment and huge gains in skills and confidence.
Before you start
It will really help if you’ve learned how to manage the throttle and clutch relationship before you start practicing wheelies. Things like slow riding and hill starts are perfect. You want to be able to add power precisely without stalling and have some good clutch feel.
Stage 1: low-speed clutch-pop wheelie, seated
Goal – to use the throttle and clutch to raise the front wheel moderately, then get it back to the ground in a controlled manner. The key is to progress very gradually, with lots of repetition. If you get too excited and jump a step you’ll probably end up on your arse.
1. Slide your bum back on the seat so you put your weight bias over the back wheel. This will give good traction and make the front wheel lighter and easier to get off the ground. Make sure your right foot can access the rear brake. Once you’re in this position it generally does nicely.
2. Ride along in first gear at low speed and low revs. Be relaxed and comfortable on the bike with a nice grip on the ‘bars, and on the frame with your legs. At this point, with one or two fingers pull in the clutch, add a small amount of throttle, then release the clutch as the revs increase. You want to get the timing right so the clutch engages and the back wheel gets drive, not spin. Lots of riders will get a big free rev and add the clutch as the revs are dropping, or drop the clutch too early and stall. It’s important to get the timing right.
3. Once you get the timing right and the front wheel is coming off the ground a little, you want to pull the clutch in to bring the wheel back down. Don’t go for extra blips of the throttle to keep the front wheel in the air yet. Having the control to pull the clutch back in when the front wheel is still on the way up gives you control and confidence.
4. As you get more comfortable with this and can reel off controlled lofts back-to-back you can consider going for a bit more height. This is when the rear brake becomes important, because as your front wheel gets very high, simply pulling in the clutch might not be enough to bring the front wheel back down. But the rear brake will. Work on this process until it becomes second nature and you’ll gradually feel more comfortable as the front wheel gets higher and higher.
5. Try not to use lots of power and acceleration to keep the front wheel in the air as this can go upside-down before you know it.
Stage 2: low-speed, clutch-pop wheelie, standing
1. Similar to the seated wheelie, but in a comfortable and balanced standing position, ride along at low speed and bounce on your suspension a few times to ensure you’re relaxed and balanced.
2. Look ahead and pick a spot to wheelie (imagine a small log), lean back very slightly and bounce on your footpegs to compress the suspension. At the same time pull the clutch in, add a small amount of throttle and release the clutch as the revs increase. If you get the timing right, the drive should begin as the forks are at the low point of the bounce, and this will help the front wheel rise. As the front wheel lifts, bend your elbows slightly and let the bike come towards you without leaning back too far. Pull the clutch in to put the front wheel back down. This technique is what you need to get over small logs or up ledges.
3. Once you get the hang of it, practice a small, rear-brake skid turn before you pop the clutch. This is perfect for when you have to raise the front wheel over a log across the track on an angle, so you cross it at 90 degrees.
4. Again, repeat until you get more comfortable, and as the front wheel gets higher start using your rear brake to bring the front wheel down.
Upping the pace
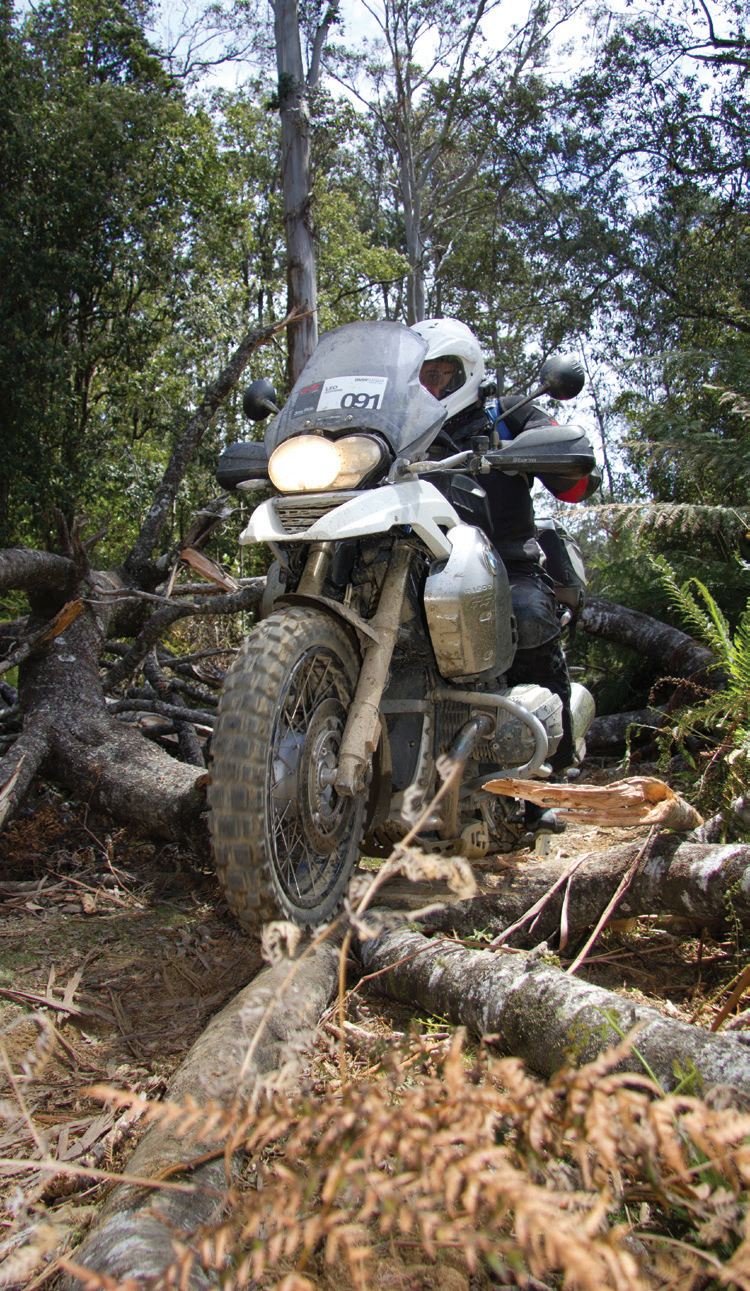
Whether it’s potholes, washouts or raised obstacles, it can be invaluable if you can instinctively pop the front wheel without fuss. Your wheel doesn’t have to clear the obstacle. The lift combined with your suspension will help the bike glide over things that used to put you on the deck or scare the bejesus out of you.
Next issue we’ll cover faster wheelies, but this slow stuff is what you need before you start going for gold.
Happy Trails!


Comments